The Best Way to Set Fence in the Ground?
Many people have no idea about fencing and still thinking it to be an easy subject, they go on and install fences on their own and that too without any proper knowledge about the process. So, how to install fences that can last several years without rotting in the ground? Let’s find the answers.
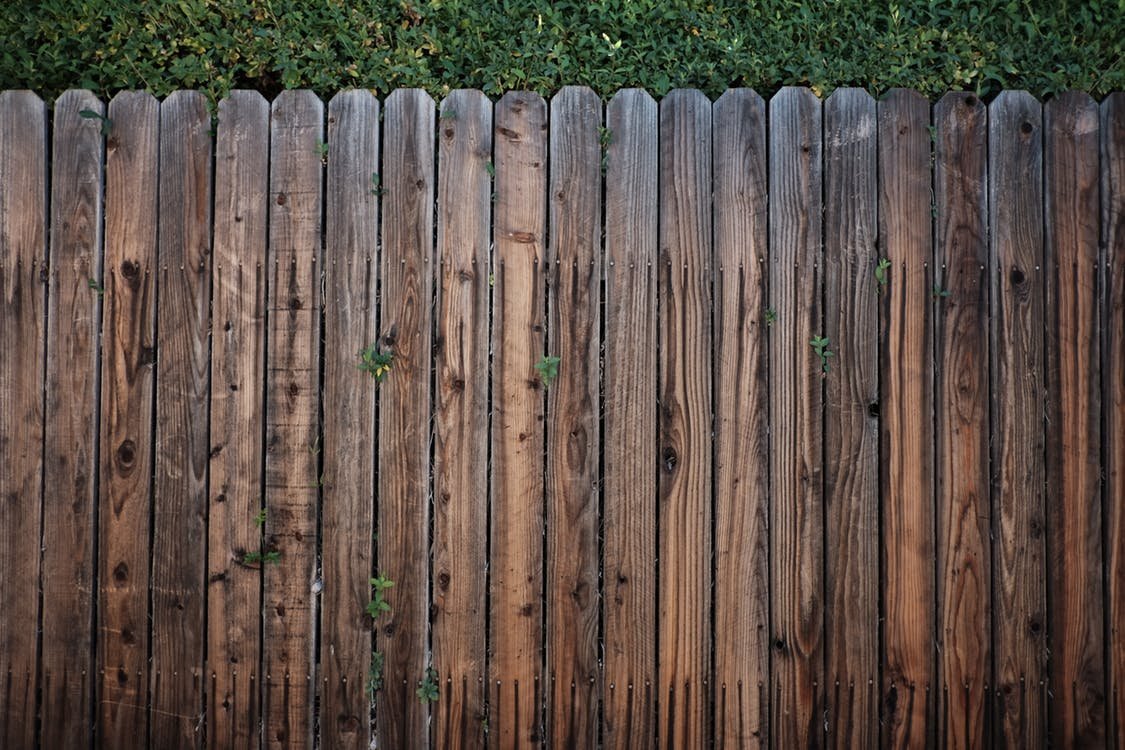
Cedar fences are quite popular, but it is never easy to maintain them. The moment you feel that your fence is rotting at the bottom, you will need to replace them at once. The rot develop mainly because the fences are not installed properly in the first place.
How to Install?
So, how can you develop your posts well and good? We have the answer to that. Cedar wood is durable, but they can also fail if certain guidelines are not maintained.
Treatment of Wood
The first thing that you need to make sure of is soaking the bottom of the fence in a good amount of wood preservative. The preservative will need to contain elements like crinoline and Nathanael. The material is easily available in different stores as well as some home centers. This particular wood treatment is designed for in-ground applications of the wooden fences.
Placing the Woods Right
It is necessary that you place 6 inch of the bottom of the fence in the post hole for proper drainage purpose. The bottom of this post needs to extend at least a few inches into the post hole. The next step is to pour the concrete inside till it reaches the soil level. The next step is to smoother the top make it sloppy so the water can run away over without any difficulty.
Apply The Paint Right
The next step in this process is to apply very good quality of acrylic latex caulk on the concrete. You can either use this material or the silicone latex to adhere the concrete. This particular step will help in sealing the gap between the concrete and the post. The gap is usually formed because of the thaw and freeze cycles.
Use the Better Wood
It is also necessary that you never use sapwood for your posts. The material sapwood is pretty light in color, way lighter than heartwood, which is darker in shade. The heartwood is denser and happens to be insect resistant.
The next thing that you will need is the right tools for your post installation.
- Caulk gun
- Bucket
- Paint Brush
- Shovel
- Trowel
- Wheelbarrow
- Posthole digger
When it comes to materials, you will need wood preservative, cement, aggregate and exterior latex caulk for the process.
Check Videos for Ultimate Guidance
You can even check YouTube videos to know more about the process of post installation. If you seek to install it on your own, then a step-by-step guidance video will be the best option for you.
If you have any more confusion about the process, then we would ask you to write down your questions in the comment section below. We are always fast to answer your queries.
A Fence Contractor Will Work On Your Project As Per Soil Type
A Fence Contractor Will Guide You through Selection Of Functional Or Ornamental Fences